5 Easy Steps to Your First Backyard Garden
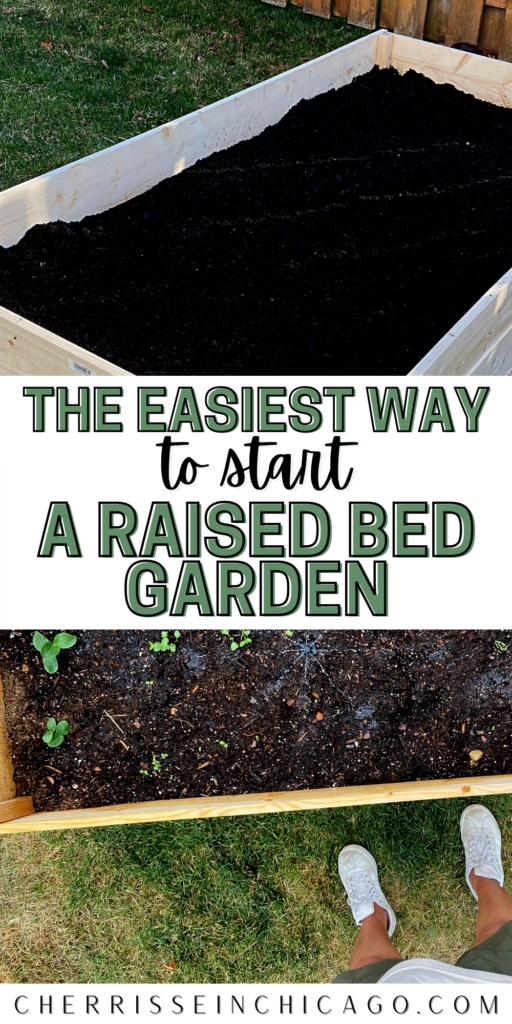
Did you see that Fixer Upper episode where Joanna Gaines started her garden? I did and I have been dreaming about it since! Starting a garden from scratch can be daunting, but I am going to share how to start a garden the easiest way with five simple steps.
One of the main things I was looking forward to when we bought our current home was starting a raised bed garden. And because I love building things I couldn’t wait to build the raised bed too! Don’t worry you can get a simple and aesthetically pleasing bed here.
Another reason I was looking forward to a garden is I wanted to do a fun long-term project with my youngest because I didn’t think to do this with my oldest. So if I can grow a garden with a pre-k kid you can do it, too! I will share some mistakes I have made in another post–like forgetting to tell my girl that the seedling isn’t quite full-grown so she isn’t tempted to pull them all out. Like she did, haha. Anyhow, let’s get into it, huh? 🙂
Step 1:
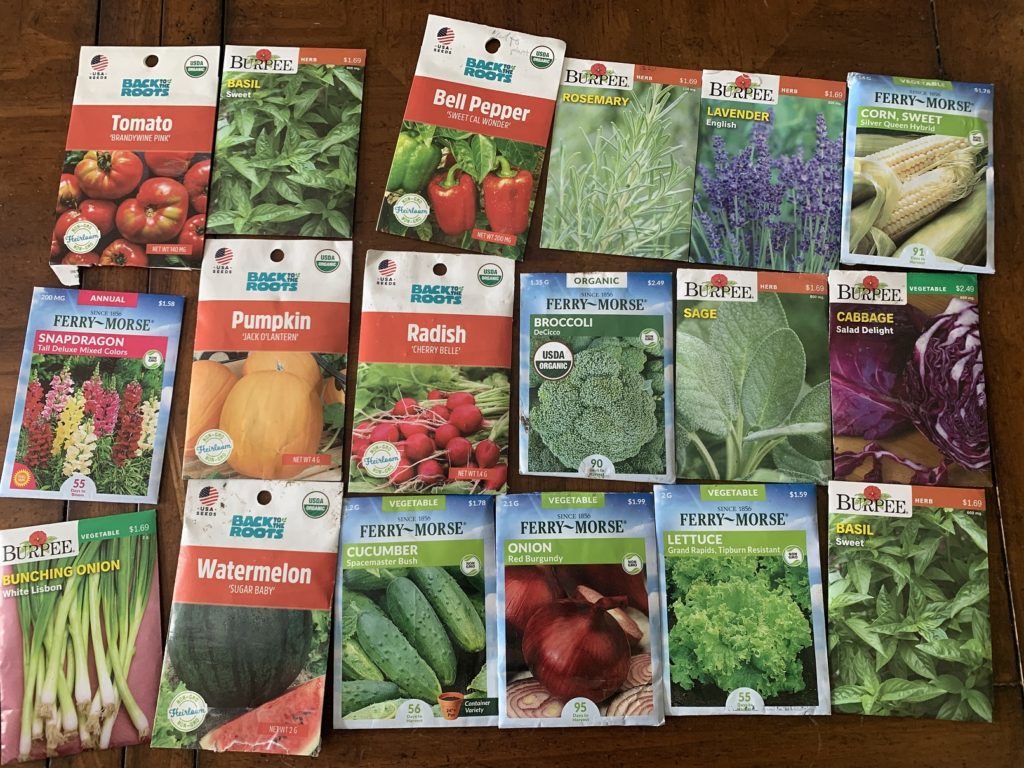
Decide what you want to grow. Don’t be embarrassed to start small. You can choose to start with one tomato vine in an indoor pot! For me, it was a no-brainer. I wanted tomatoes, cucumbers, and peppers. I have a few other things like watermelon and pumpkins because Amelia wanted to choose some seeds, too. This helps her know it is her garden, too! (Here I talk all about how to read seed packets.)
Step 2:
The easiest way to start a garden is to gather all of your materials at once–if you have to build your raised bed and it may take you a few days to build it, but in my experience, it only takes a couple of hours. You can purchase your starter plants when you buy the wood for your raised bed, just make sure to water them until your ready to plant them. Gather the wood, dirt, nails, hoses, and seeds (if needed- not all seeds start indoors.)
Step 3:
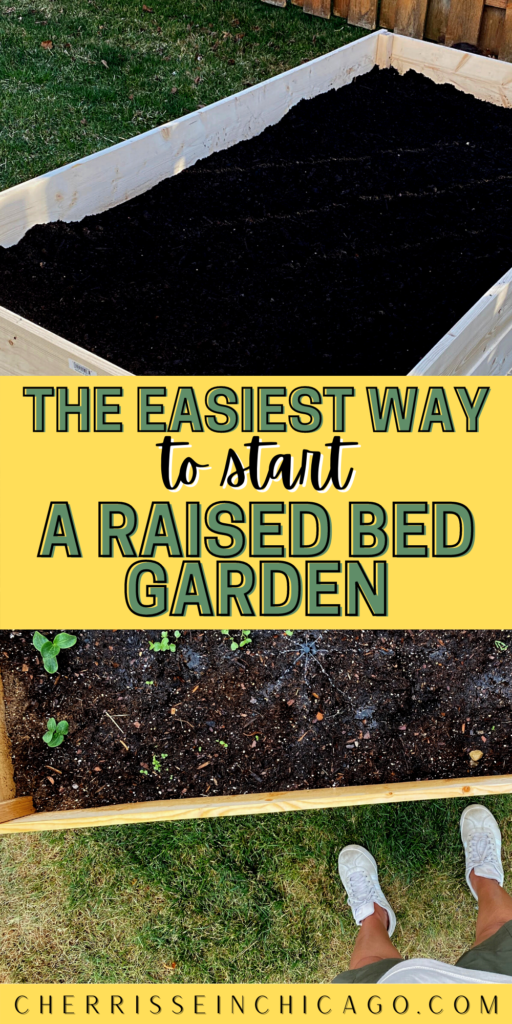
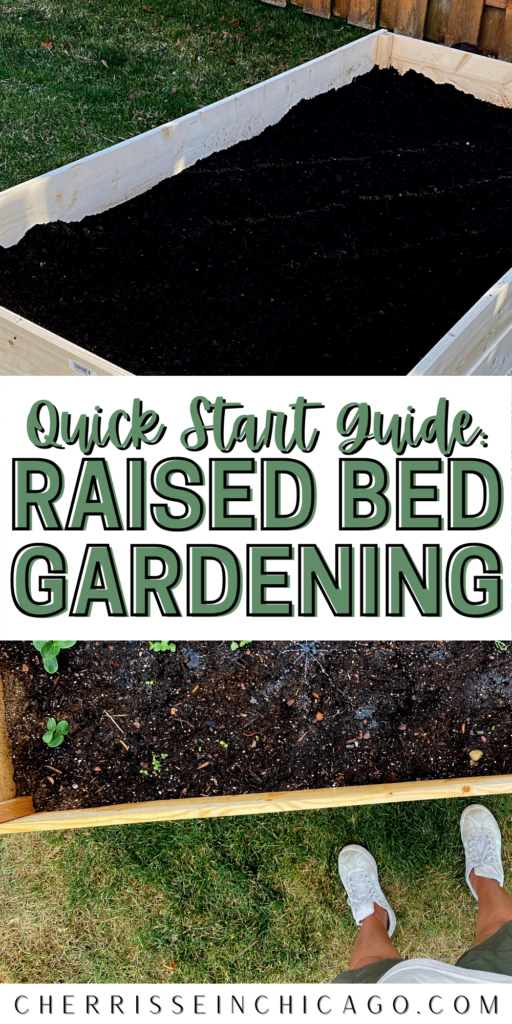
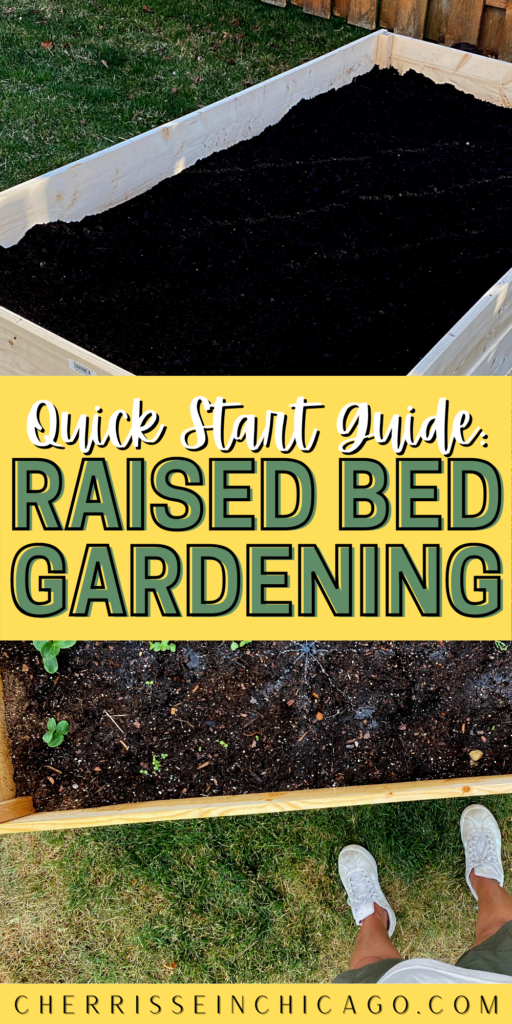
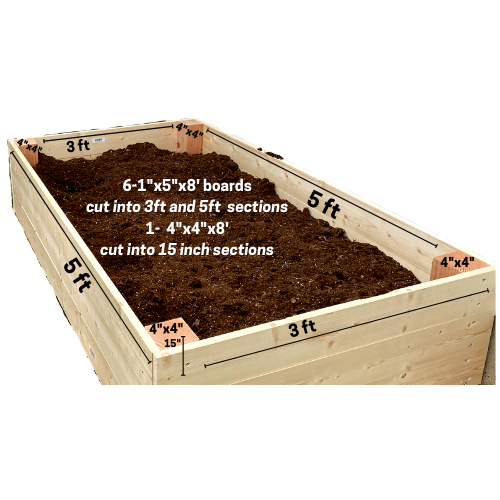
Assemble your raised bed. “Pro-tip” Ask the associates in the wood section at the hardware store to cut your wood for you. My newest garden bed is 5’x3′ and I used three 1″x5″x8′ boards with 4″x4″x8′ in the corners. [Just in case that was gibberish to you: 5-foot by 3-foot bed that has three stacked 1-inch thick by 5-inch wide by 8-foot long boards. 🙂 ] Ask the associate to cut your boards to 3ft and 5ft sections and cut your 4×4 to 15-inch sections. This way when you get home you will only have to screw the boards to the 4x4s!–Cuts building time down by hours and the only tools you’ll really need are a drill and a heavy-duty stapler.
Step 4:
Next, fill your raised bed. For a long-lasting and nourishing bed, you will need to layer it with smart components. This year before starting my garden, I picked up the book The complete guide to no-dig gardening: grow beautiful vegetables, herbs, and flowers – the easy way! by Charlie Nardozzi from my local library. This book is all about how to make a nutrient-rich soil garden bed without digging.
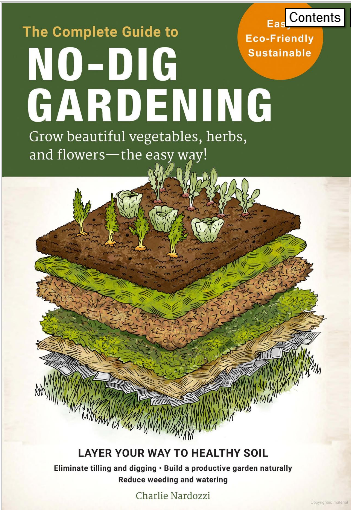
From this book I learned about how to start a garden with my best foot forward which meant creating nutritious soil was the most important part. I layered my bed: wire, brown paper bag (torn open and spread flat), rocks, straw, compost, topsoil, then Miracle-Gro Moisture Control soil mix. A couple of notes: 1. I used wire because I think we may have a mole. You don’t have to use wire. 2. You can use cardboard just remove staples and tape. 3. I only used rocks on the sloped section of my raised bed. 4. Top soil and garden soil are the same thing.
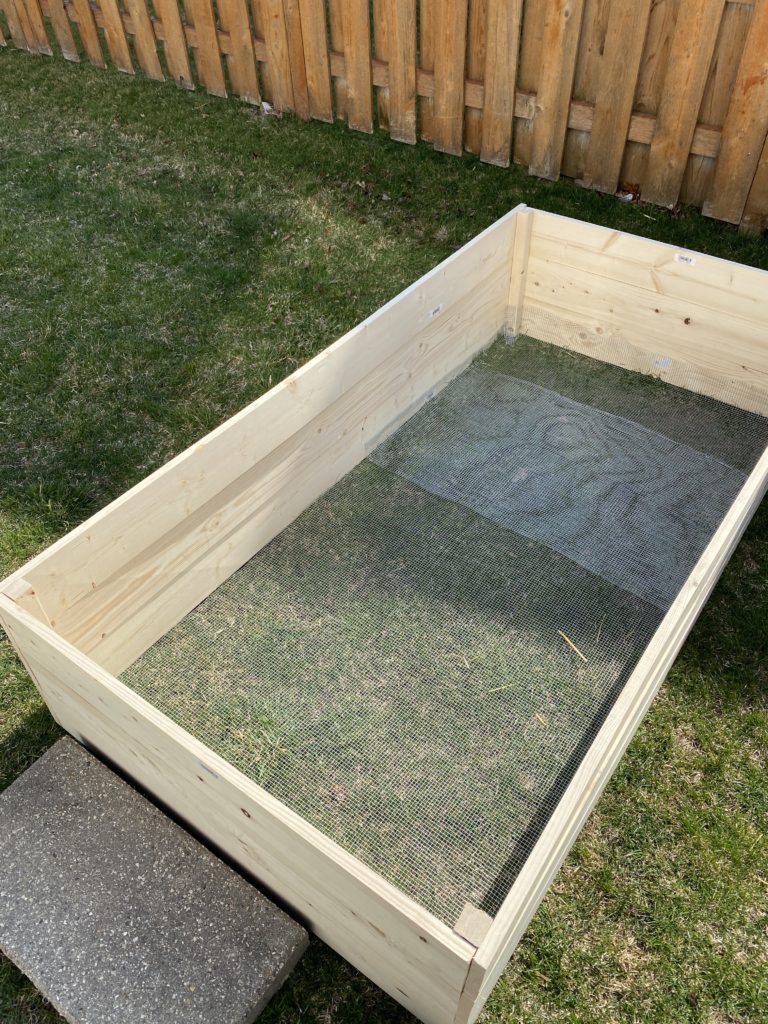
wire 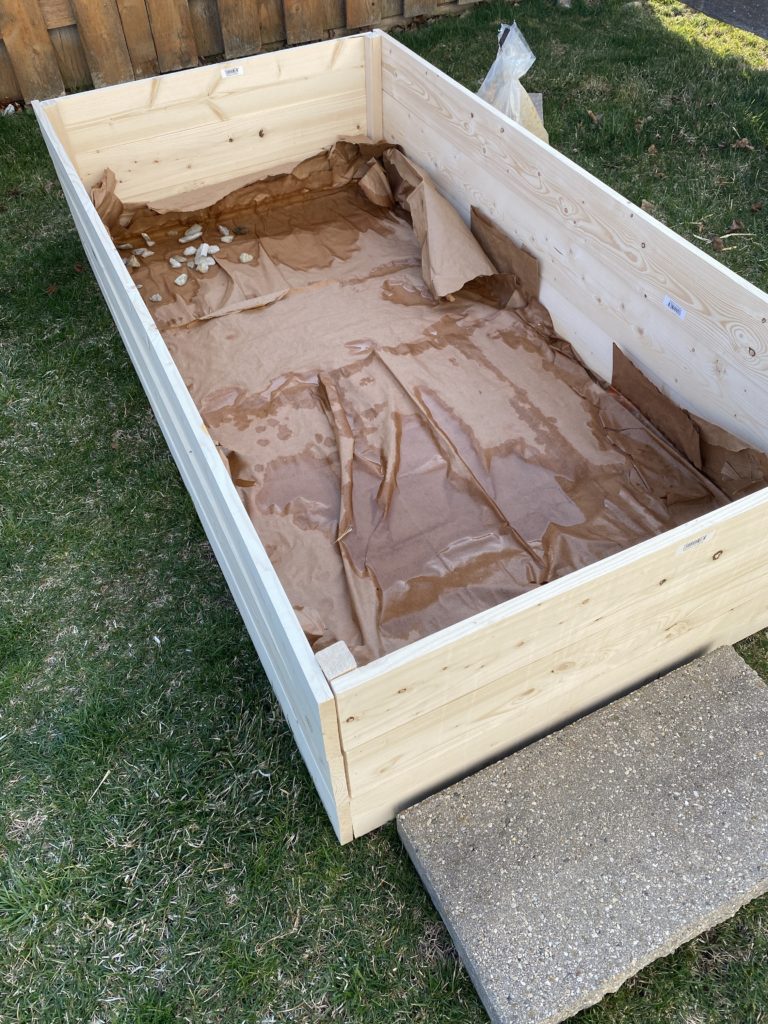
opened brown paper bags 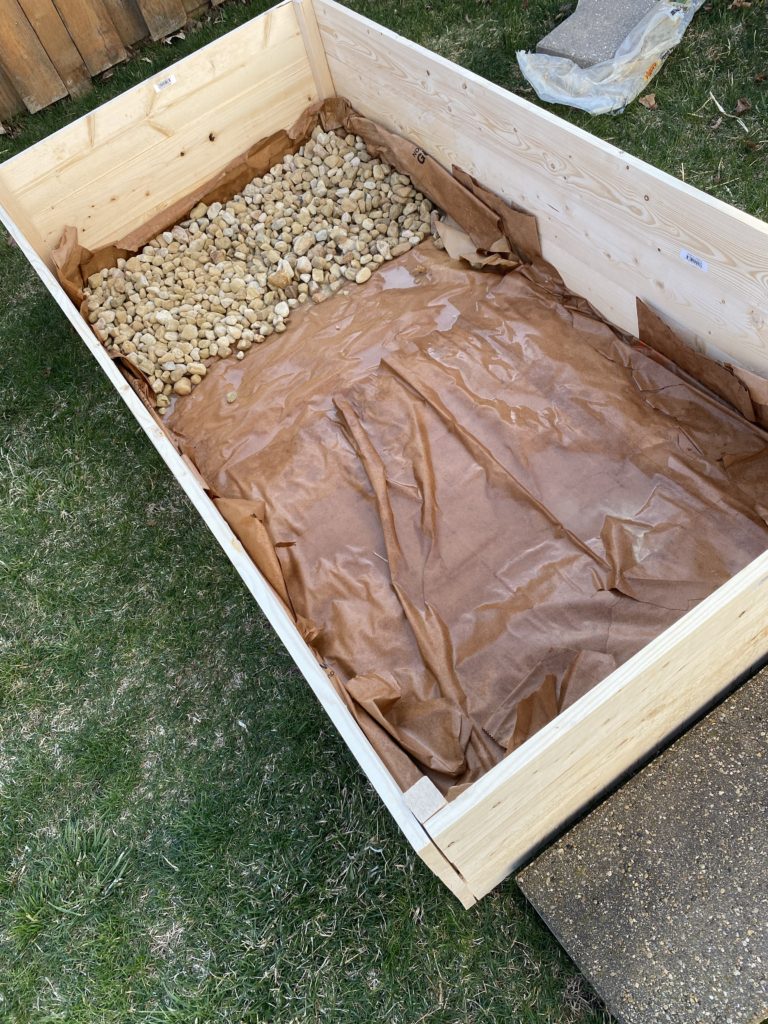
rocks to level 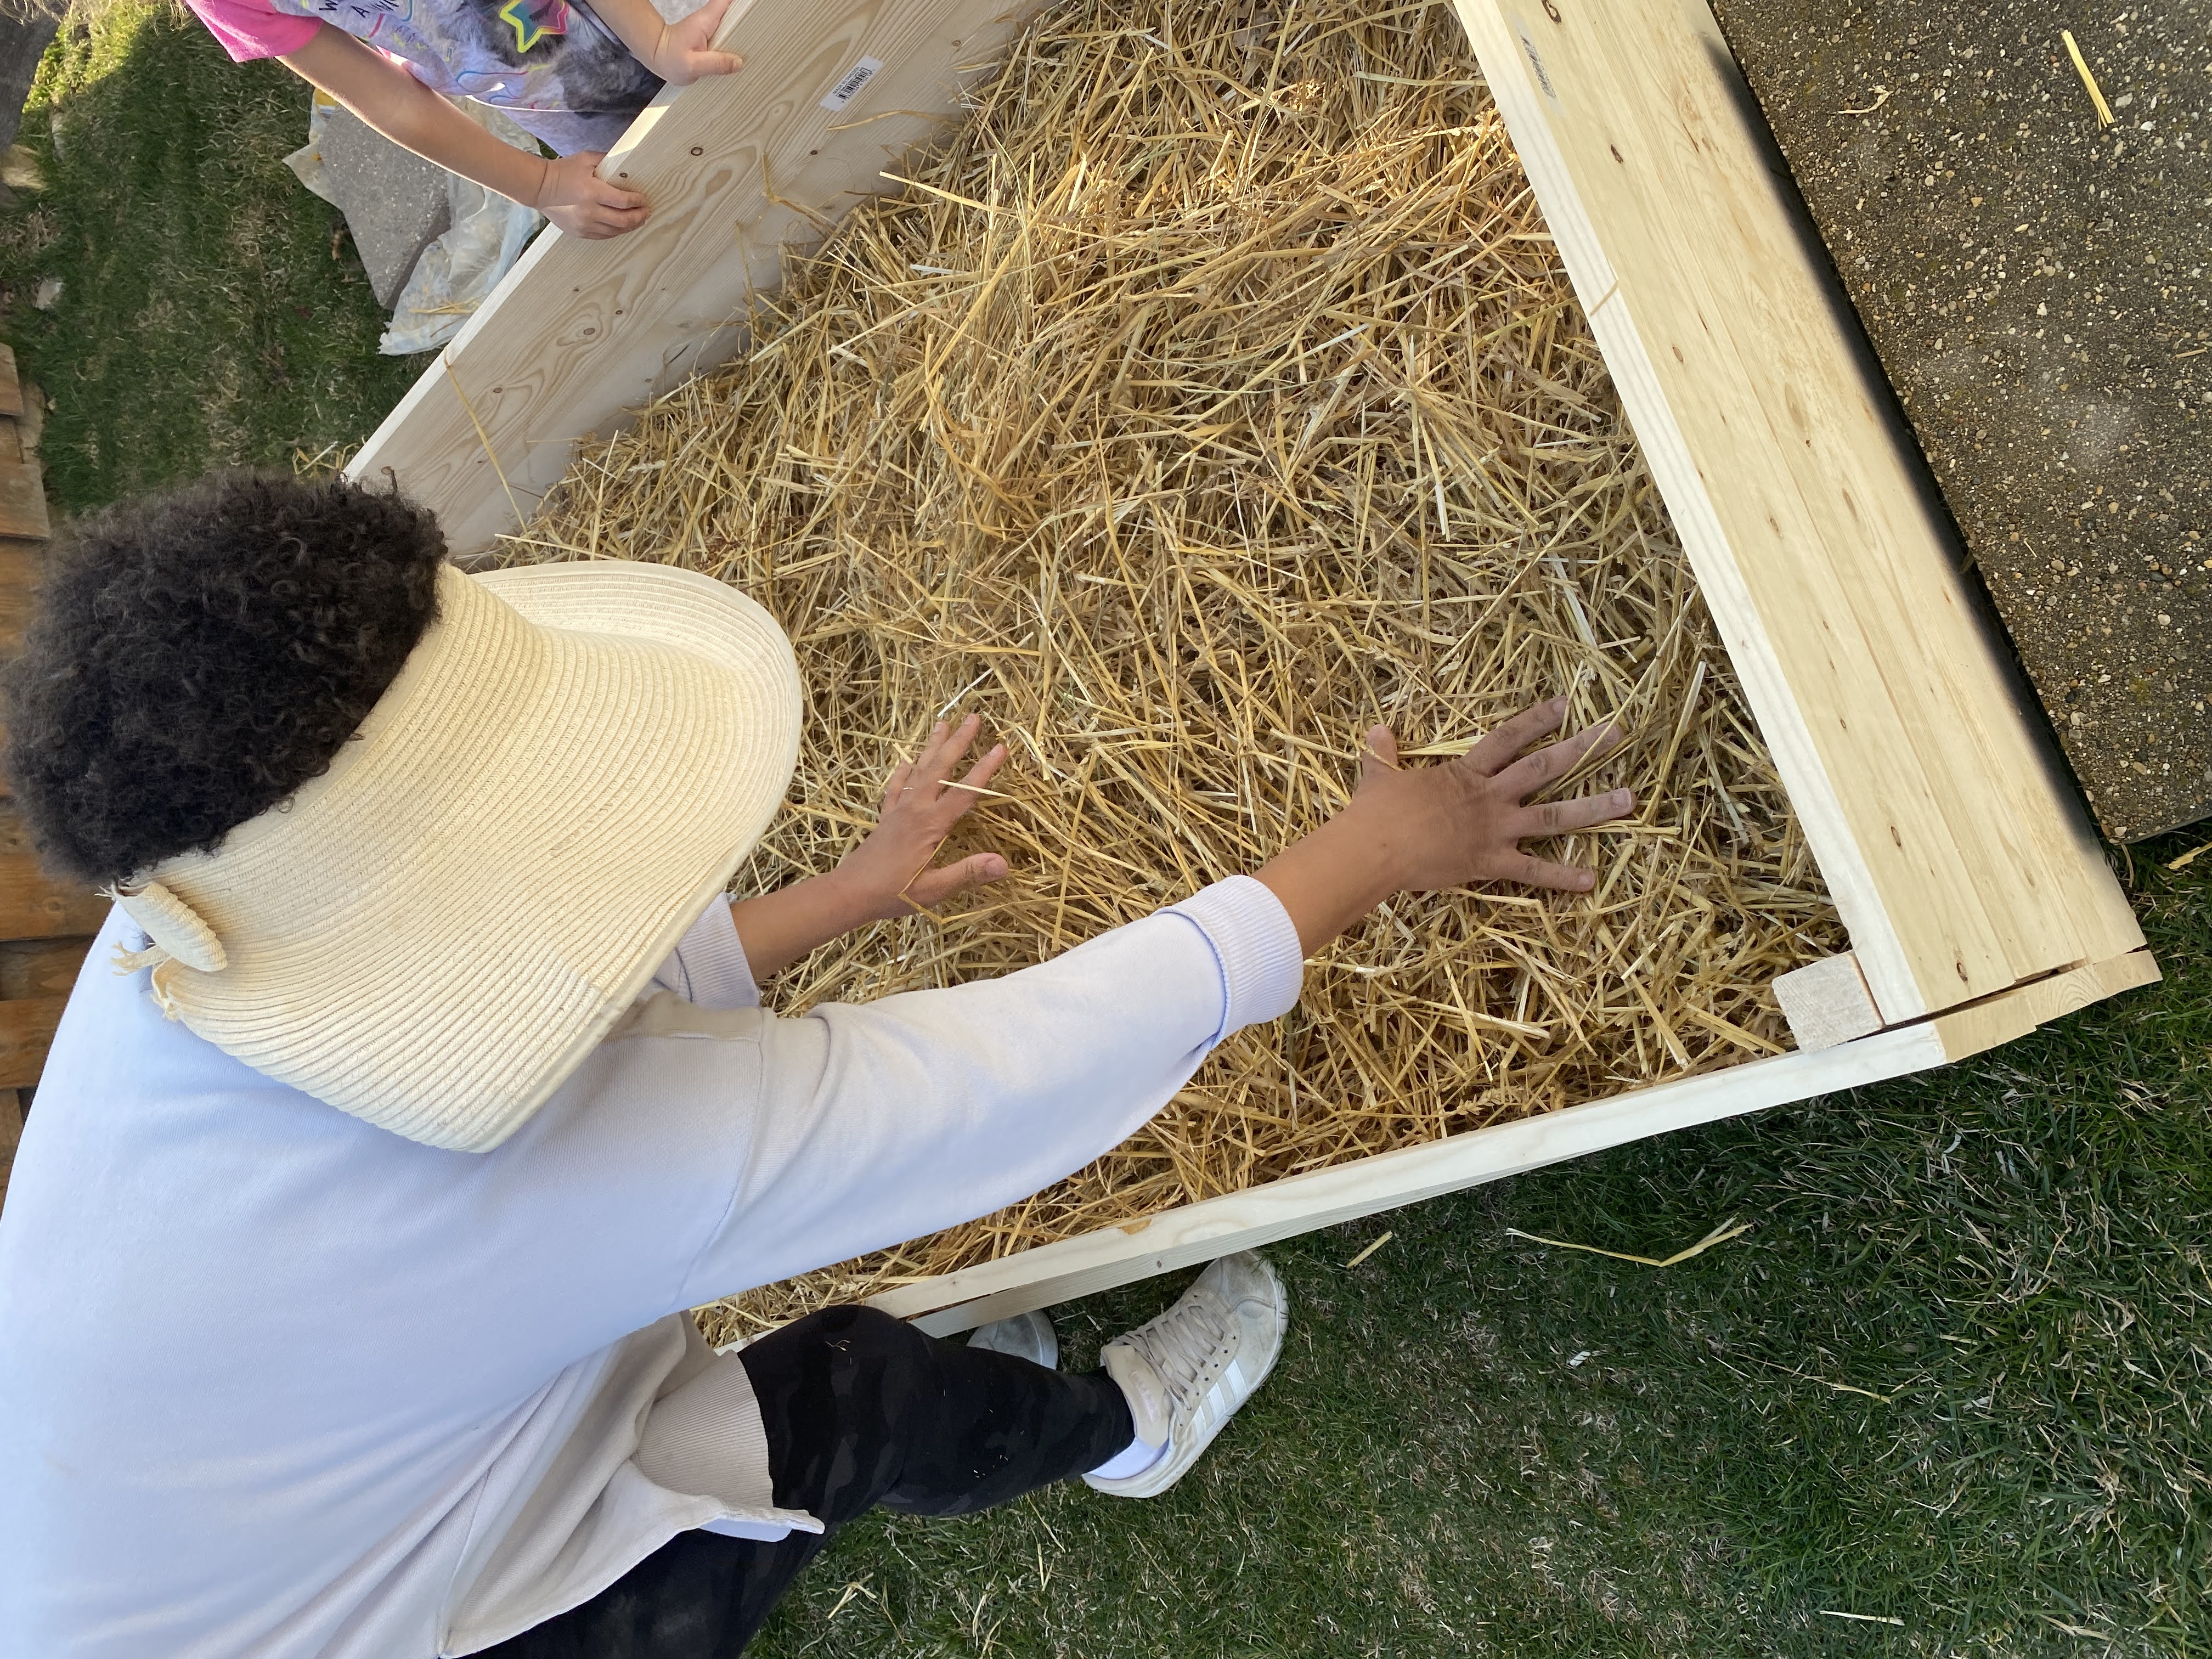
straw 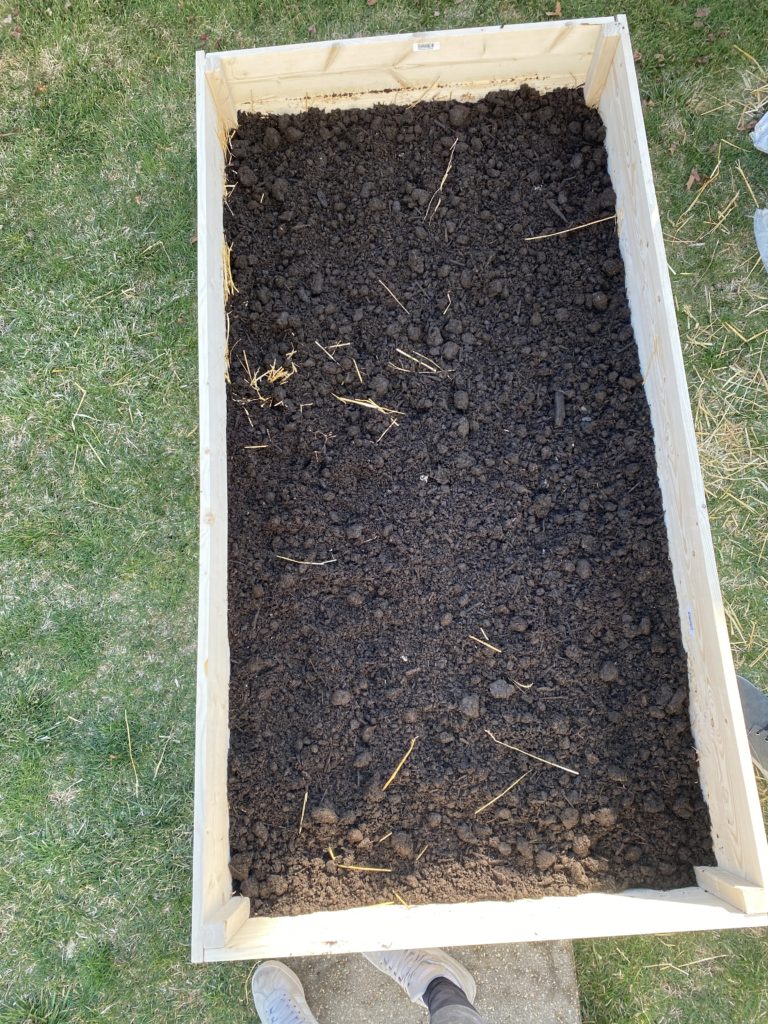
compost 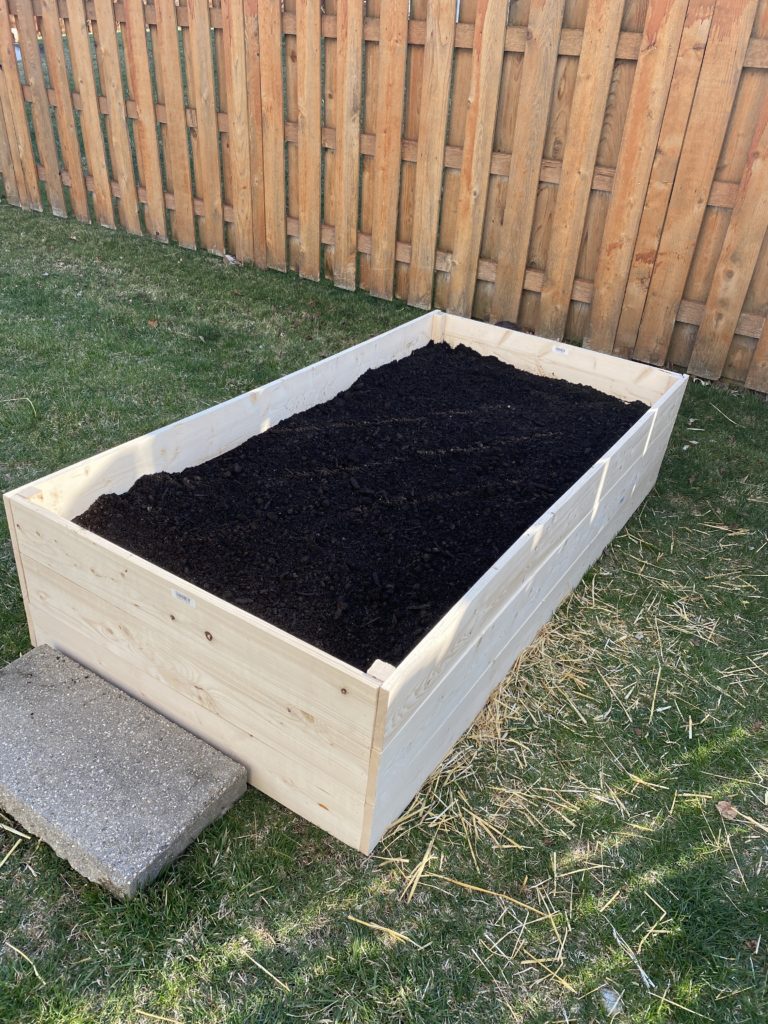
garden soil
Step 5:
The last thing to do is to add your seeds and starter plants. “Pro-Tip” read the back of the seed packets for planting instructions. I try to be mindful of how big the plants will be when fully grown/producing fruit/veggies.
WOW! And just like that you have just started a raised bed garden. All in a day’s work! I hope you are able to do it with your kiddos if you have some. There hasn’t been much that has made my youngest run outside like checking on her tomatoes! I also hope you are able to share your fruits with a friend or two!


